Pi Hole on the Home Server
Raspberry Pi, Home Server ·Home Server Project using Setting up a Pi Hole Part 2:
In this post I will be taking the base I setup from the last post and building off it. First thing I wanted to setup was my Pi Hole. A Pi Hole is a program that filters incoming traffic on your network. It can block, blacklist or whitelist domain and providers. Default the program comes with about 100,000 items blocked. These range from advertisements to location tracking, but there is a way to add more that I will touch on later. Before I get started on this install process there are two ways to install Pi Hole one is through Portainer and using stacks and docker compose. The other is by SSH’ing into the Pi and using the command line. I will be explaining how to do the latter option. Let’s dive into getting a container setup for our Pi Hole with docker. First you want to use a program like Putty. Once Putty is installed and opened, I typed the IP of my Pi and connect on port 22 (this is the port for SSH). Now connected to the Pi sign in (default user and password is pi and Raspberry respectively if the account has not been changed) now type “sudo su” to get to the root level access. Now with sudo access on the root level I can make a new container and get Pi Hole up and running on it
docker run -d \
--name pihole \
-e ServerIP=192.168.0.41 \ (Put the IP you want your PI Hole to have here)
-e WEB_PORT=80 \
-e WEBPASSWORD=Temp123! \
-e DNS1=1.1.1.1 \
-e DNS2=1.0.0.1 \
-e TZ='America/Chicago' \
-v /home/pi/Docker/hole:/etc/pihole \
--ip=192.168.0.41 \
--network=shared_nw1 \
--restart=always \
--cap-add=NET_ADMIN
pihole/pihole:latest
Now I let PI hole get up and running. I then went into Portainer and checked on the status of my new container with the container up and running it should give itself a new IP, in my case it was 192.168.0.41. This can be seen on the container view screen.

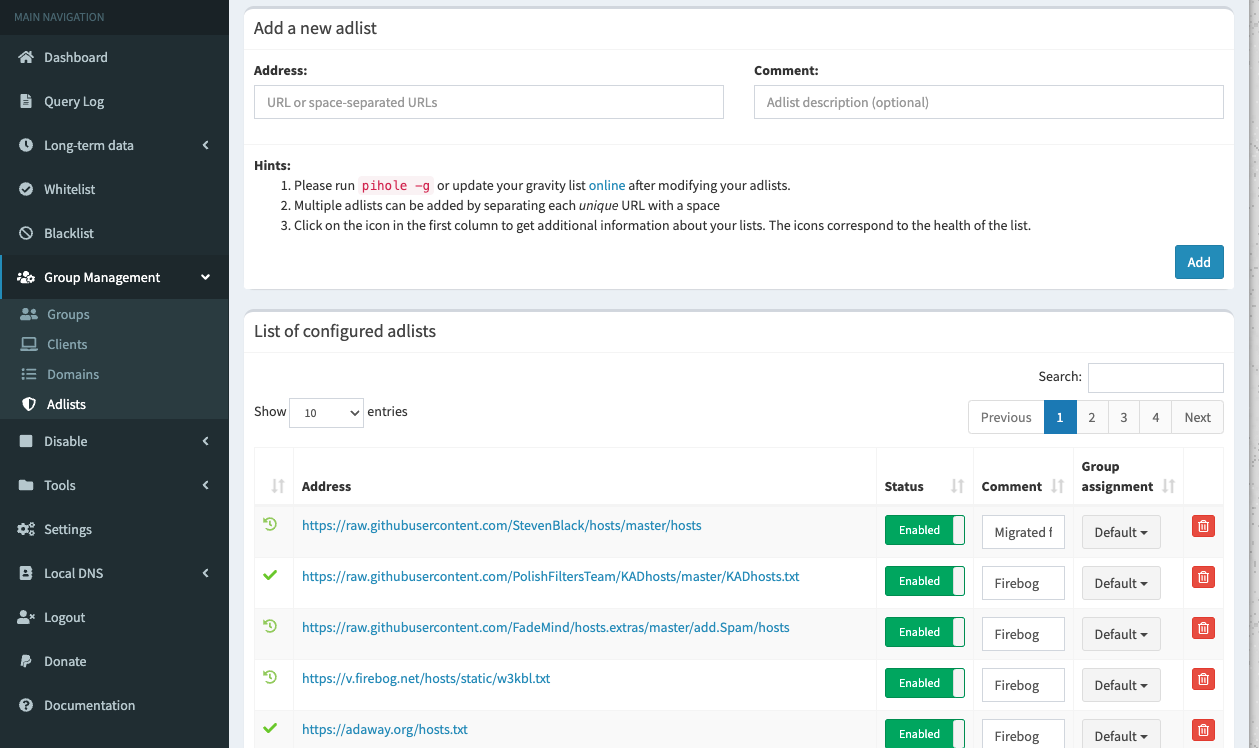
With the new Ip I now went to 192.168.0.41/admin to get to the login page. Login to the UI with the user and password that was set in the command from above. Now that I have logged in let’s focus on getting some more blocklists into our Pi hole, while the defaults ones are a great start there are some more to add that will improve the experience (Warning some of these block google and YouTube tracking these will directly interfere with things like YouTube. YouTube and Google won’t know what videos you watched so your feed will not be updated. In my opinion this a small price to pay for blocking Google from mining my data) Here are some of the lists I used Firebog and Developer Dan you can add these in by going to group management and selecting ad list and copy pasting the links from the sites provided.

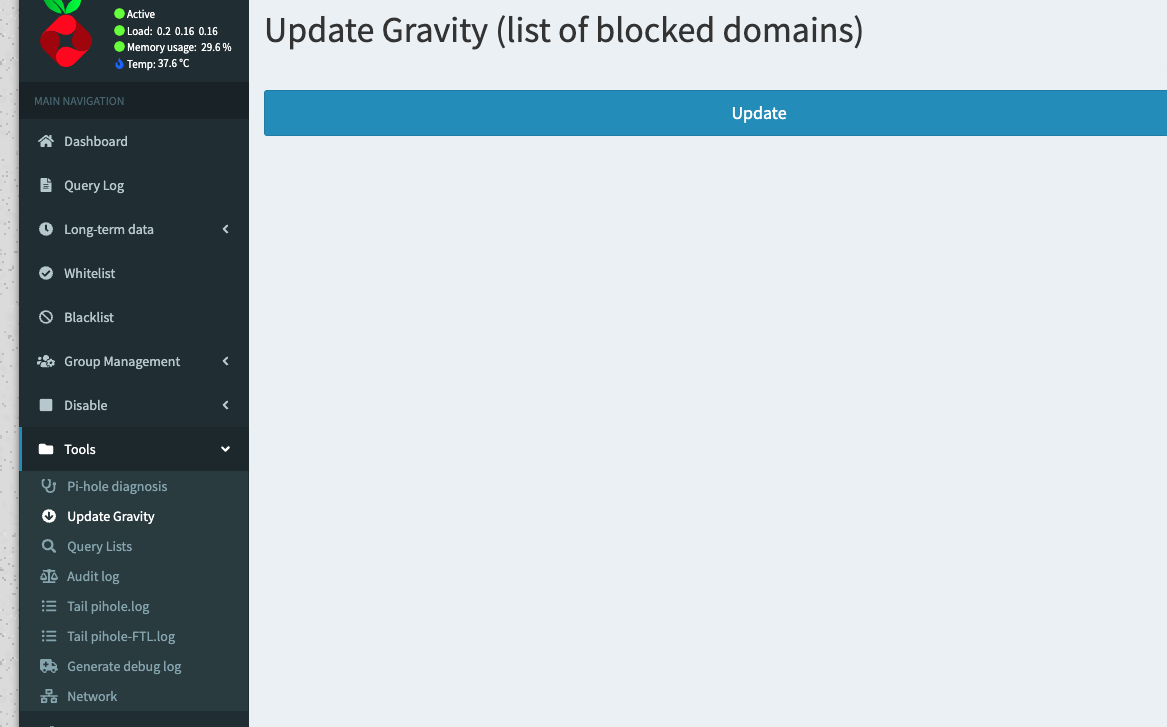
You don’t have to use every URI from Firebog or Developer Dan, pick what works best for your use case. For example, I did not block Facebook because my girlfriend uses Facebook products regularly. Once the block lists have been added. Head to Update Gravity to incorporate the changes to the block list.

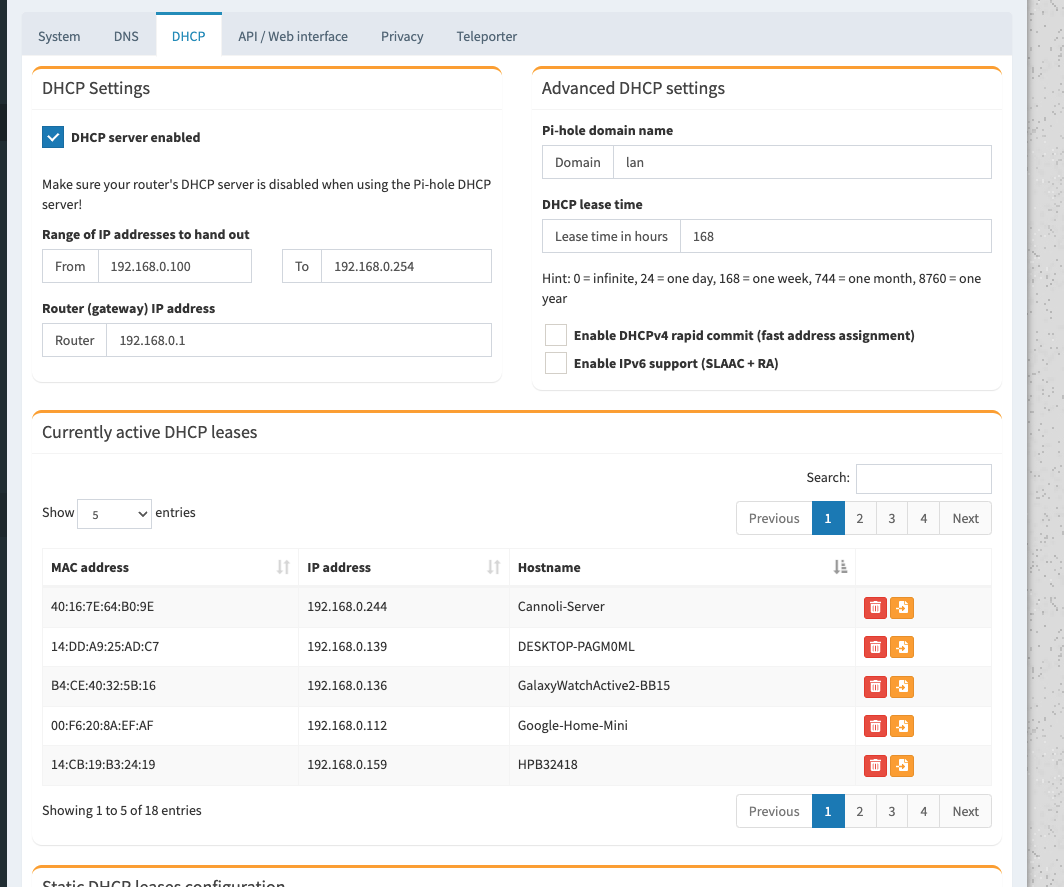
I decided to use my Pi Hole as my DHCP provider instead of my router because my routers max DHCP lease time was 2 hours. With the Pi I can set the lease time to whatever I want. I chose a week. Navigate to the settings menu, go to the DHCP tab and turn DHCP on set your addresses for me it was 192.168.0.1 and 192.168.0.100 – 192.168.0.254.

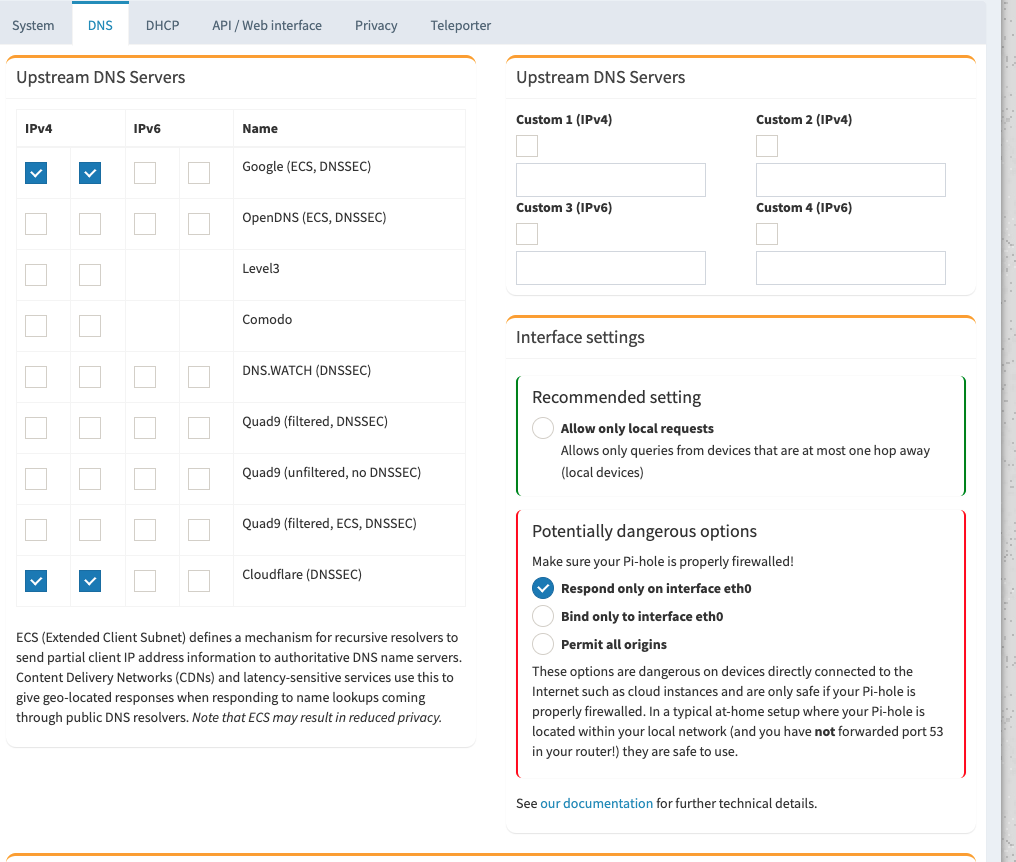
With this set. Go to the DNS tab and pick the DNS providers I chose Cloudflare and Google for the upstream servers.

Next, I went to my router’s interface and went to advanced settings and turned off its DHCP capabilities because the Pi Hole will be taking care of that form now on. Also while inside your routers network settings, set the DNS provider to the IP of the PI hole. I restarted my router after this. I would also recommend restarting all the devices on the network to manually have them grab a new DHCP lease and update their DNS providers. I now have a fully functioning Pi hole that has worked well for me for about the past month as my DHCP server and ad blocker.
